
How to Build Your Own LED Calculator with the DIY Kit 51 Microcomputer
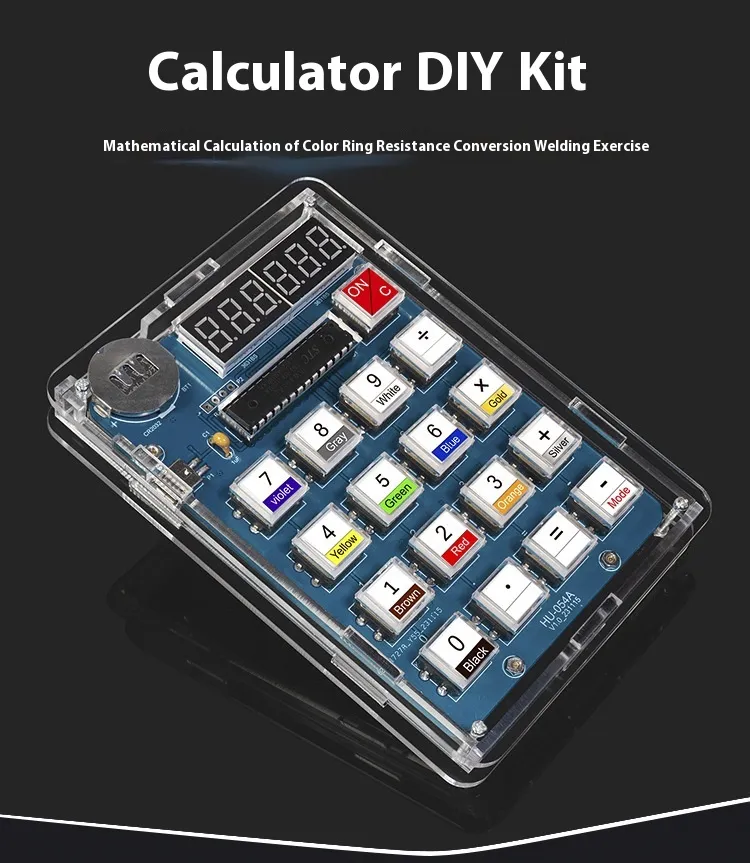
Have you ever wanted to make your very own working calculator? With the DIY Kit 51 Microcomputer Single Chip Microcomputer Homemade Digital Tube Calculator, you can! This isn’t just a kit—it’s a hands-on learning adventure where you get to solder, explore microcontrollers, and build a cool gadget that you can actually use.
Why Build a Calculator Kit 51 Microcomputer Yourself?
Instead of buying another ordinary calculator, imagine putting one together piece by piece. When you do, you’ll learn:
- 🔧 Soldering skills — how to join components to a circuit board.
- 💡 Microcontroller basics — the “brain” inside so many electronics.
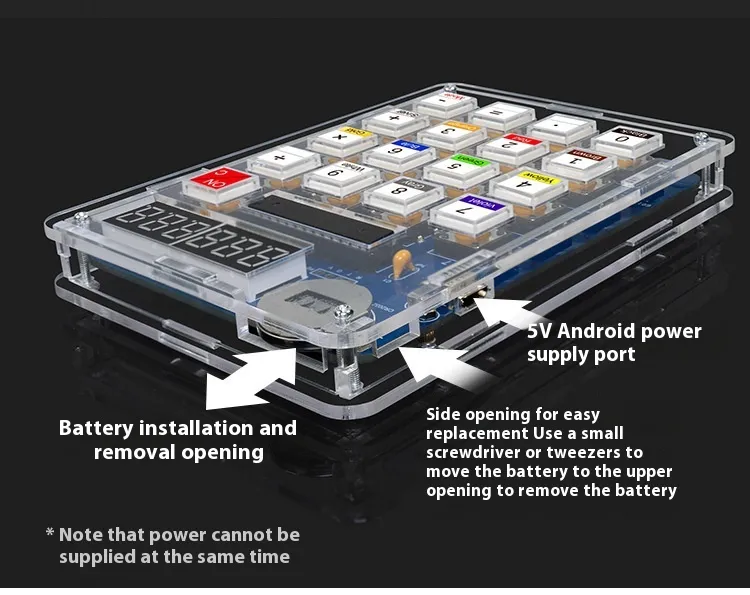
- 🔋 Power management — using either a 5V USB cable or a 3V button battery.
In the end, you don’t just own a calculator—you’ll understand how it works. That’s the fun of DIY electronics!
What’s Inside the Kit Kit 51 Microcomputer?
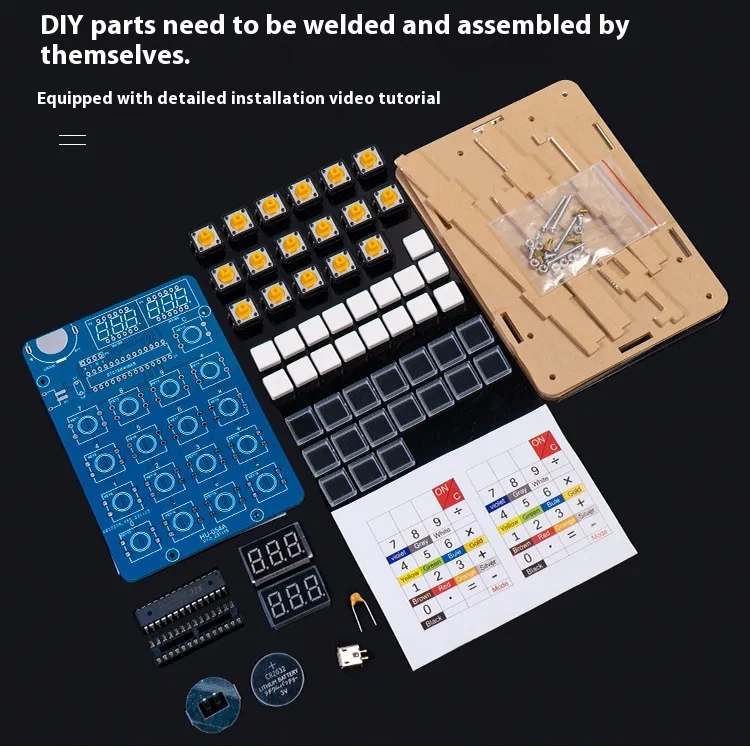
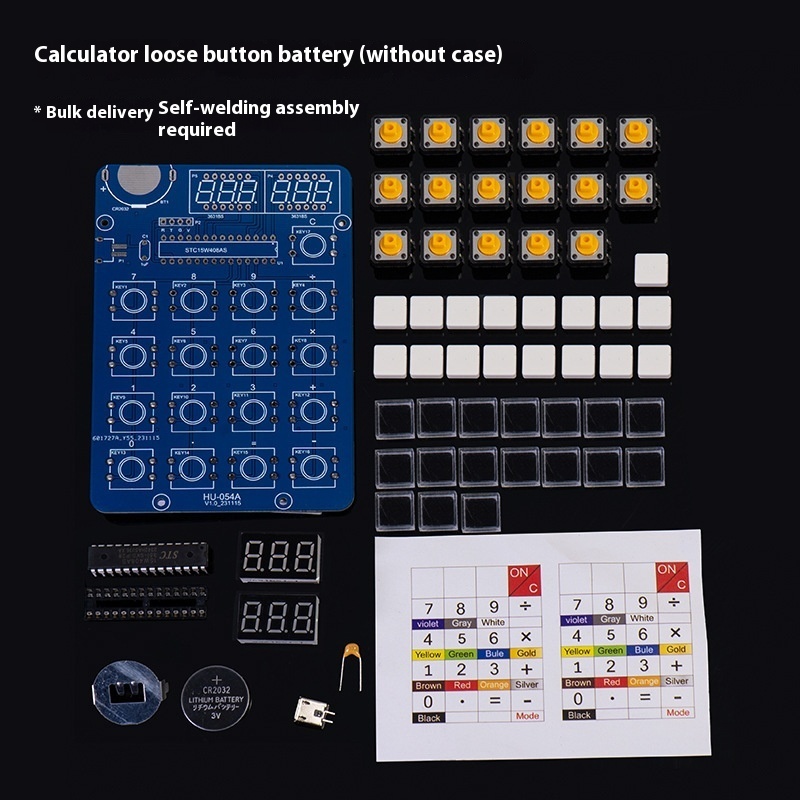
The kit comes with everything you need to build your project:
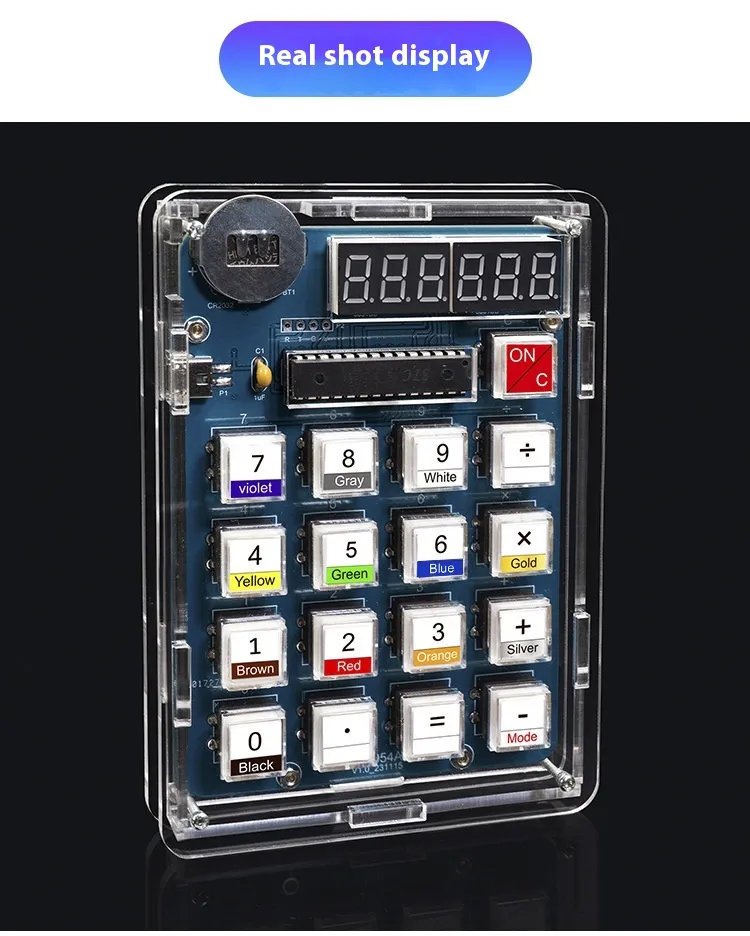
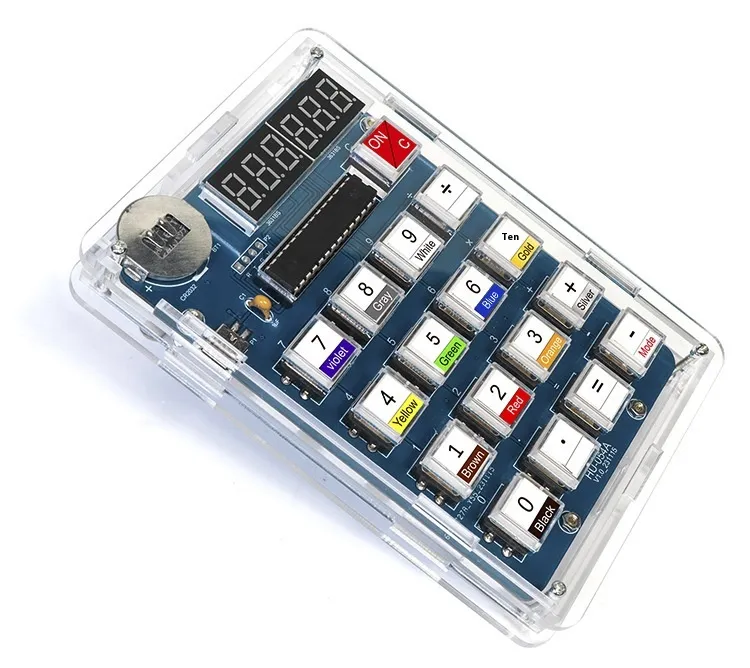
- Tactile switches for numbers and functions
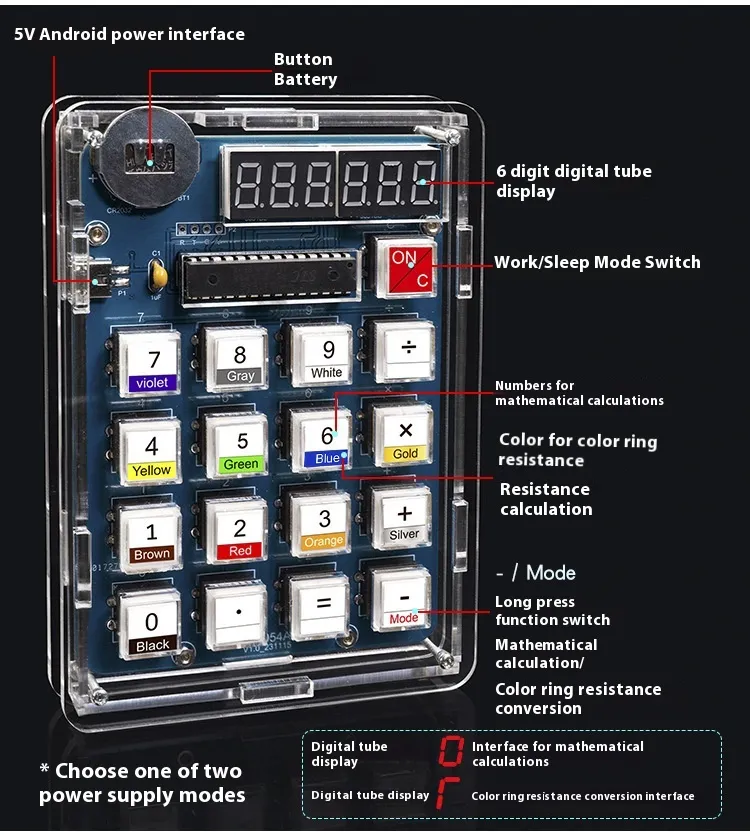
- 6-digit LED display
- STC 51 microcontroller
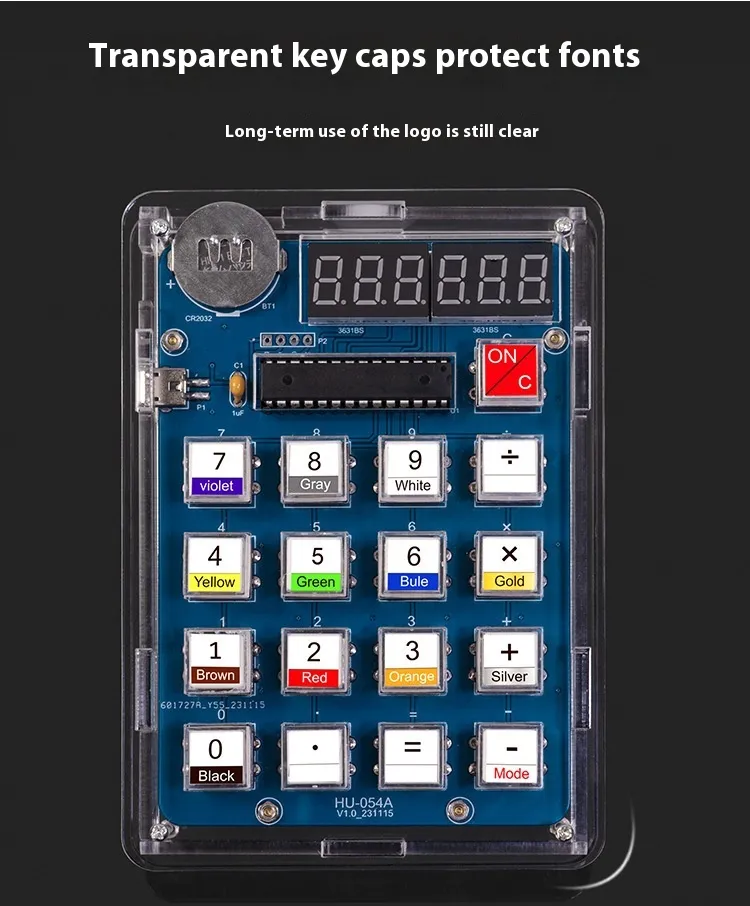
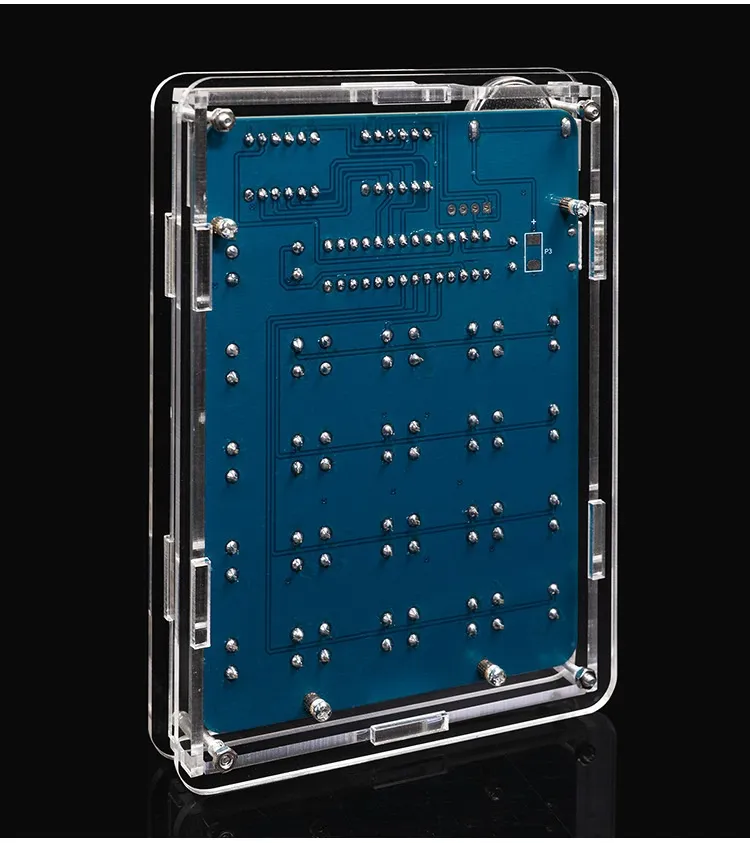
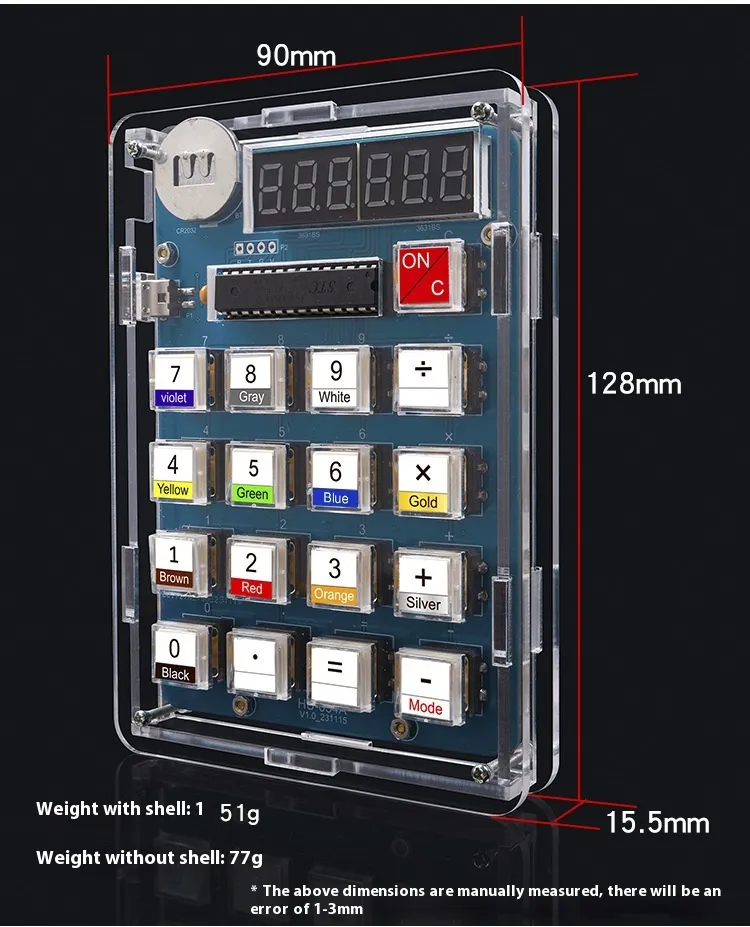
- Clear acrylic shell to showcase your creation
- USB and button battery power options
👉 No need to buy extra parts—just grab a soldering iron and you’re ready to start!
How Does It Work?
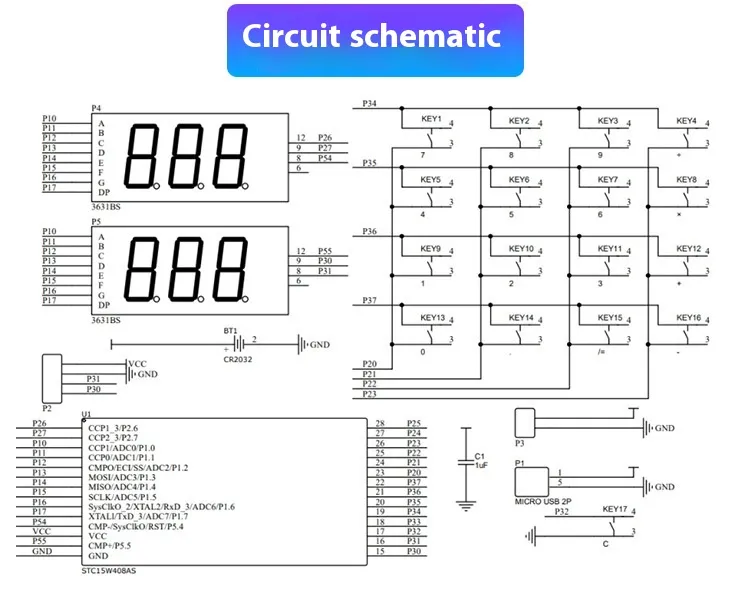
When you press the keys, signals are sent through the STC 51 microcontroller (a classic 8051 chip). That’s what lights up the LED display and performs the calculations.
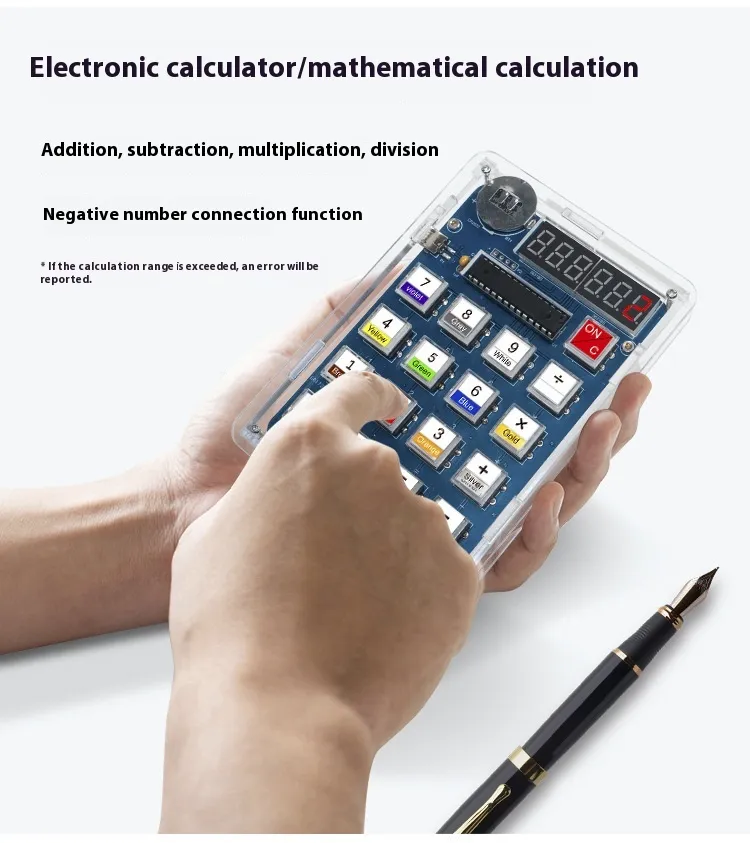
- In calculator mode, you can do standard math operations.
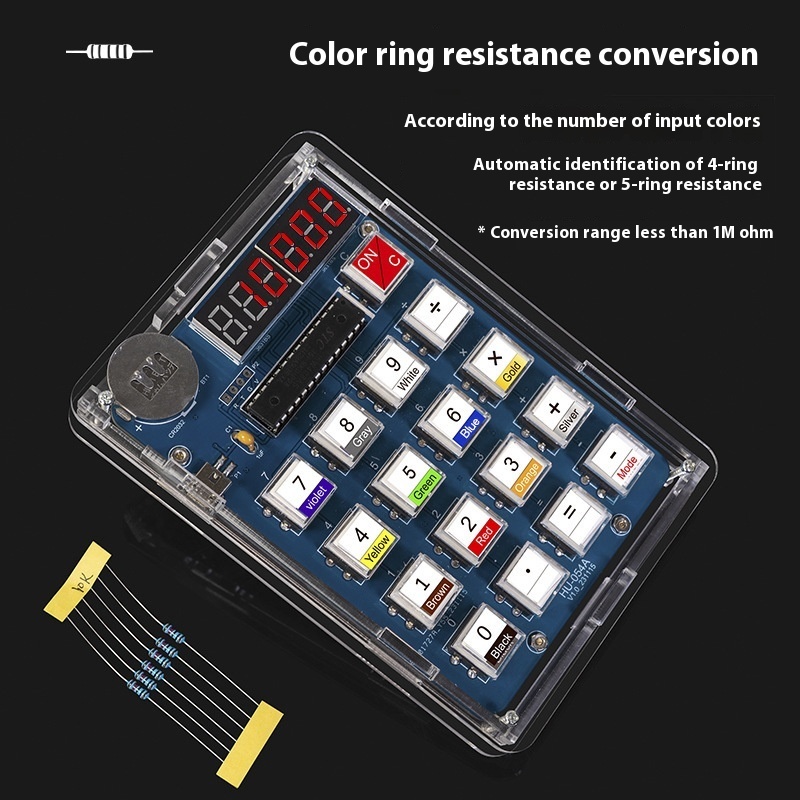
- In resistance mode, you can enter color bands and convert them into resistor values.
Pretty awesome, right? It’s like two gadgets in one!
Why This Kit Kit 51 Microcomputer is Great for Beginners
This project is perfect if you’re:
- A student exploring STEM projects
- A beginner learning to solder
- A hobbyist who enjoys fun weekend builds
Unlike some advanced kits, this one keeps things simple. As a result, you’ll get hands-on practice without feeling overwhelmed. Plus, the clear casing lets you proudly display your hard work when it’s done.
Step-by-Step Fun (What You’ll Do)
- Place the parts on the PCB.
- Solder each component carefully.
- Insert the microcontroller and display.
- Assemble the acrylic shell.
- Power it up—USB or button battery.
- Start calculating! 🎉
If you ever get stuck, don’t worry. The full instruction manual is included and also available in the “Attachment” section of the product page.
Learn More & Keep Exploring
If this is your first project, you’ll probably get curious about what else you can build. Here are a few trusted resources to dive deeper:
- Arduino Guide: Introduction to Microcontrollers
- How LED Displays Work – AllAboutCircuits
- STEM Learning Projects – STEM.org
Ready to Build Yours?
Why just read about electronics when you can build something real? The DIY Kit 51 Microcomputer Calculator is the perfect way to start your maker journey.
Leave a Reply